- Download and install the DayClocks Calendar app via Google Play (Android) or the App Store (iOS)
- Log in with the username and password you received
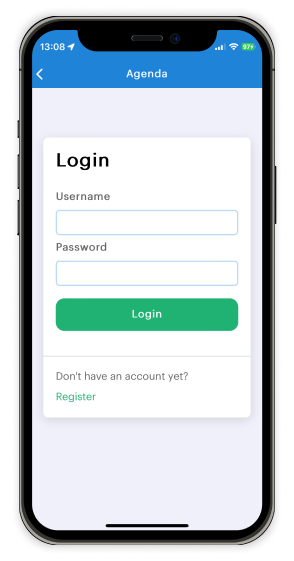
Registration
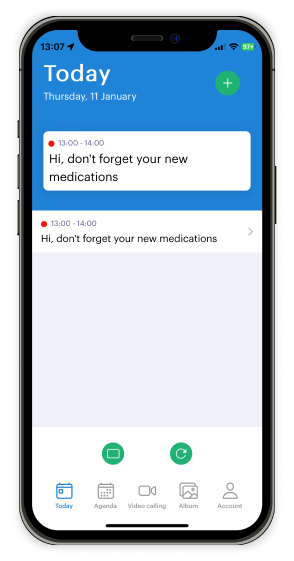
Entering an activity
- Under Today you can see the activities for that day and under Calendar you can see what is planned for each calendar date
- Press the green plus sign at the top right of the menu bar to go to the Activities menu
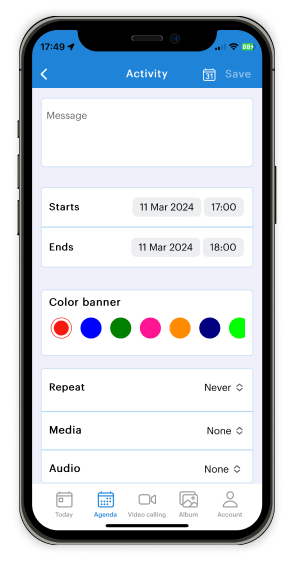
- Add/set the following settings:
-
Activity title (this will appear on the bar on the DayClock.
-
Start time and date (of the activity).
-
End time and date (of the activity).
-
Colour bar (on which the title appears).
-
Repetition (repetition frequency of the activity).
-
Media: here you have the option to select a photo, photo album or a
-
YouTube link. For a photo, a selection can be made from a folder of photos or a current photo can be taken with the smartphone’s camera. Photo albums can be created and saved with the Calendar app.
-
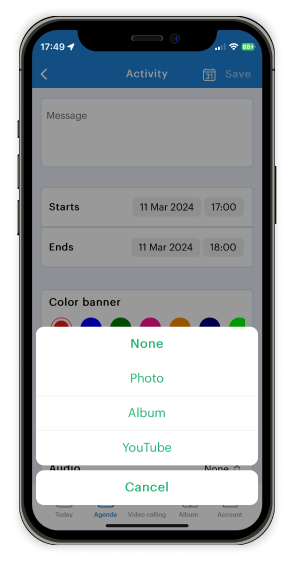
To schedule a YouTube video, do the following:
- Open YouTube app on the same device on which you installed the DayClocks Calendar app.
- Select the desired video.
- Press the Share button below the video.
- Press the Copy Link or Copy button to copy the link of the video.
- Open the DayClocks Agenda app.
- Open an existing activity or open the activity menu to create a new activity.
- Select YouTube from the Media setting (see figure 13).
- Paste the link of the YouTube video into the input field.
Tip
Take into account the length of the ‘YouTube activity’ and the length of the YouTube video. If, for example, the activity is 20 minutes and the video is 5 minutes, the video will be repeated 4 times.
Audio
here you have the option to select speech (computer voice), audio or (your own) voice.
Message active
Your activities are set as active by default. However, you can use this button to (temporarily) set an activity to inactive (e.g. if a weekly recurring activity does not take place for a few weeks).
- Press Save (top right) to save the activity.
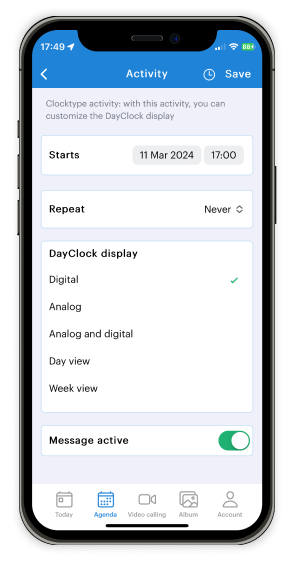
Change DayClock display

(here you can change the display on the DayClock screen via the calendar app. The options are analogue, digital, a combination of both, the day view and the week view).
- For example, if you have set the DayClock to analogue and digital by default and want to display the day view every day (e.g. every day between 08:00 and 08:30), go to Change day view and select Day view with daily repetition at 08:00. Then switch back to Daily view with daily repetition at 08.30 (and then back to digital and analogue). This way, your loved ones will see the day’s activities for half an hour at a time every day.
Checking the display
- press “Today” in the menu bar at the bottom of the screen.
- press the green button with the image of a screen. You will now see the current screen display of the DayClock.
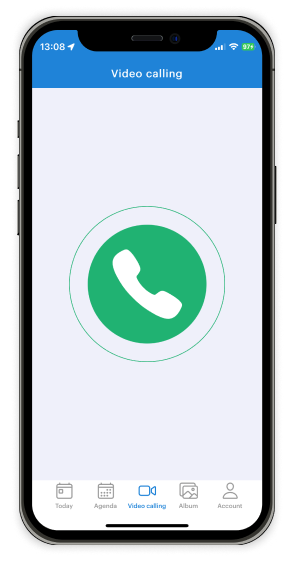
Video calls (only with the DayClock Generation10)
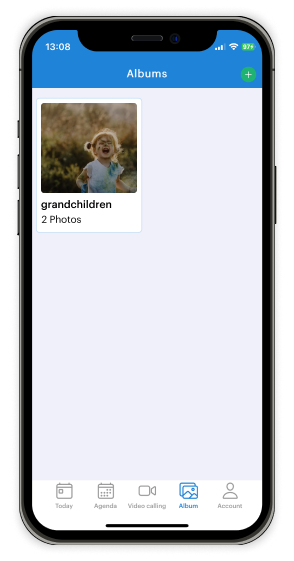
Photo album
A new feature on this page is that the first photo in the photo album is displayed
The number of photos in the album is also displayed.
You can compile your own photo album for your loved ones. To do this, you can select up to 50 photos and let them pass from photo 1 to photo 2, to photo 3, etc. at the desired intervals. Read more about how to create a photo album here.
Creating a photo album via our app ‘dayclocks calendar’:
- Press ‘photo album’ on the app.
- Press Plus (+).
- Enter the name of the album.
- Enter the dwell time of a photo.
- Press Plus (+)
- Choose photos from your library or take a photo and save.
- Add
- Go back with <
Displaying the photo album:
- Press Plus (+).
- Choose Photo album.
- Choose a created album.
- Enter the start/end day and start/end time.
- Save
- Done …!
Service/Logout
- If you have more than one DayClock (e.g. with your mother and your father-in-law), you can switch between the two DayClocks here
- You can change your password here if you wish
We bought this clock for our mom and it wasn’t to replace anything as we see her everyday.
She is delighted with the clock.
She likes to know what day it is for herself the second she wakes up.
I wish some people would stop assuming that it’s to replace visiting your loved ones.
I would get one myself 😁

